

HONEY-SWEETENED CHOCOLATE COATING

Coating your goodies with chocolate, wraps them in another layer of deliciousness. It only takes three simple ingredients that I usually have readily available at home to do this. I have used this coating to glaze cookies, and bars, or brushed it on cakes as well as piped shapes and words. My girls especially love the piping part! They pipe stars, flowers, words, names and much more to decorate festive plates or personalize treats. It is such a fun project to do together.
For coating small treats I prepare a rimmed baking sheet with parchment paper or newspaper and place a drying rack on top of it. Then I carefully melt the ingredients in a double boiler on the stovetop. It is important not to overheat the chocolate and to make sure that absolutely no water splashes into the chocolate mix because both incidents surly will ruin the result and you will end up with a grainy chocolate mess instead of a smooth coating.
I freeze the smaller treats before I dip them into the chocolate because that gives an even coating that hardens quickly without causing a mess. Once the treats are chilled enough I remove them from the freezer. One by one I submerge the treats completely into the warm chocolate using two forks to handle them. I remove them quickly and place them onto the drying rack to harden the chocolate.
For cakes I use a pastry brush to brush the coating over the entire surface of the cake then I place the cake in a cool and dry place or refrigerate it for half an hour.
For piping chocolate you can fill a piping bag and snip off the tip then pipe your favorite shapes, words or decorations on a flat baking sheet lined with parchment paper and let harden completely before handling. You can store these in a cookie tin making sure to place parchment paper in between layers.

INGREDIENTS
5 oz 100% dark chocolate chips (chocolate can be reintroduced after intestinal symptoms have subsided completely)
2 tbsp butter or coconut oil
3 tbsp honey
INSTRUCTIONS
Add 2 inches of water to a cooking pot and bring to a simmer. Turn off the heat and submerge a double boiler insert or smaller cooking pot. Add the chocolate chips, butter, and honey to the double boiler and melt the chocolate, stirring constantly. Make sure that absolutely no water splashes onto the ingredients and not to overheat the chocolate! Once everything is melted together and you have a smooth chocolate coating, you can remove the double boiler insert form the water and put it to use:
Small treats: Submerge small treats into the chocolate using two forks for handling. Place them on a drying rack to let the chocolate harden.
Cakes: For cakes, I use a pastry brush to distribute the chocolate coating evenly over the surface.
Piping: For piping, fill a pastry bag with the chocolate coating and snip off the tip to make a small hole. Pipe your favorite shapes onto a parchment-lined baking sheet. Let the coating harden in a cool dry place or the refrigerator. Store in a cool and dry place.
You can use the chocolate coating to decorate your popsicles, candies, truffles, piping chocolate decor, cookies, and cakes.
Recipes that I use the chocolate coating for:
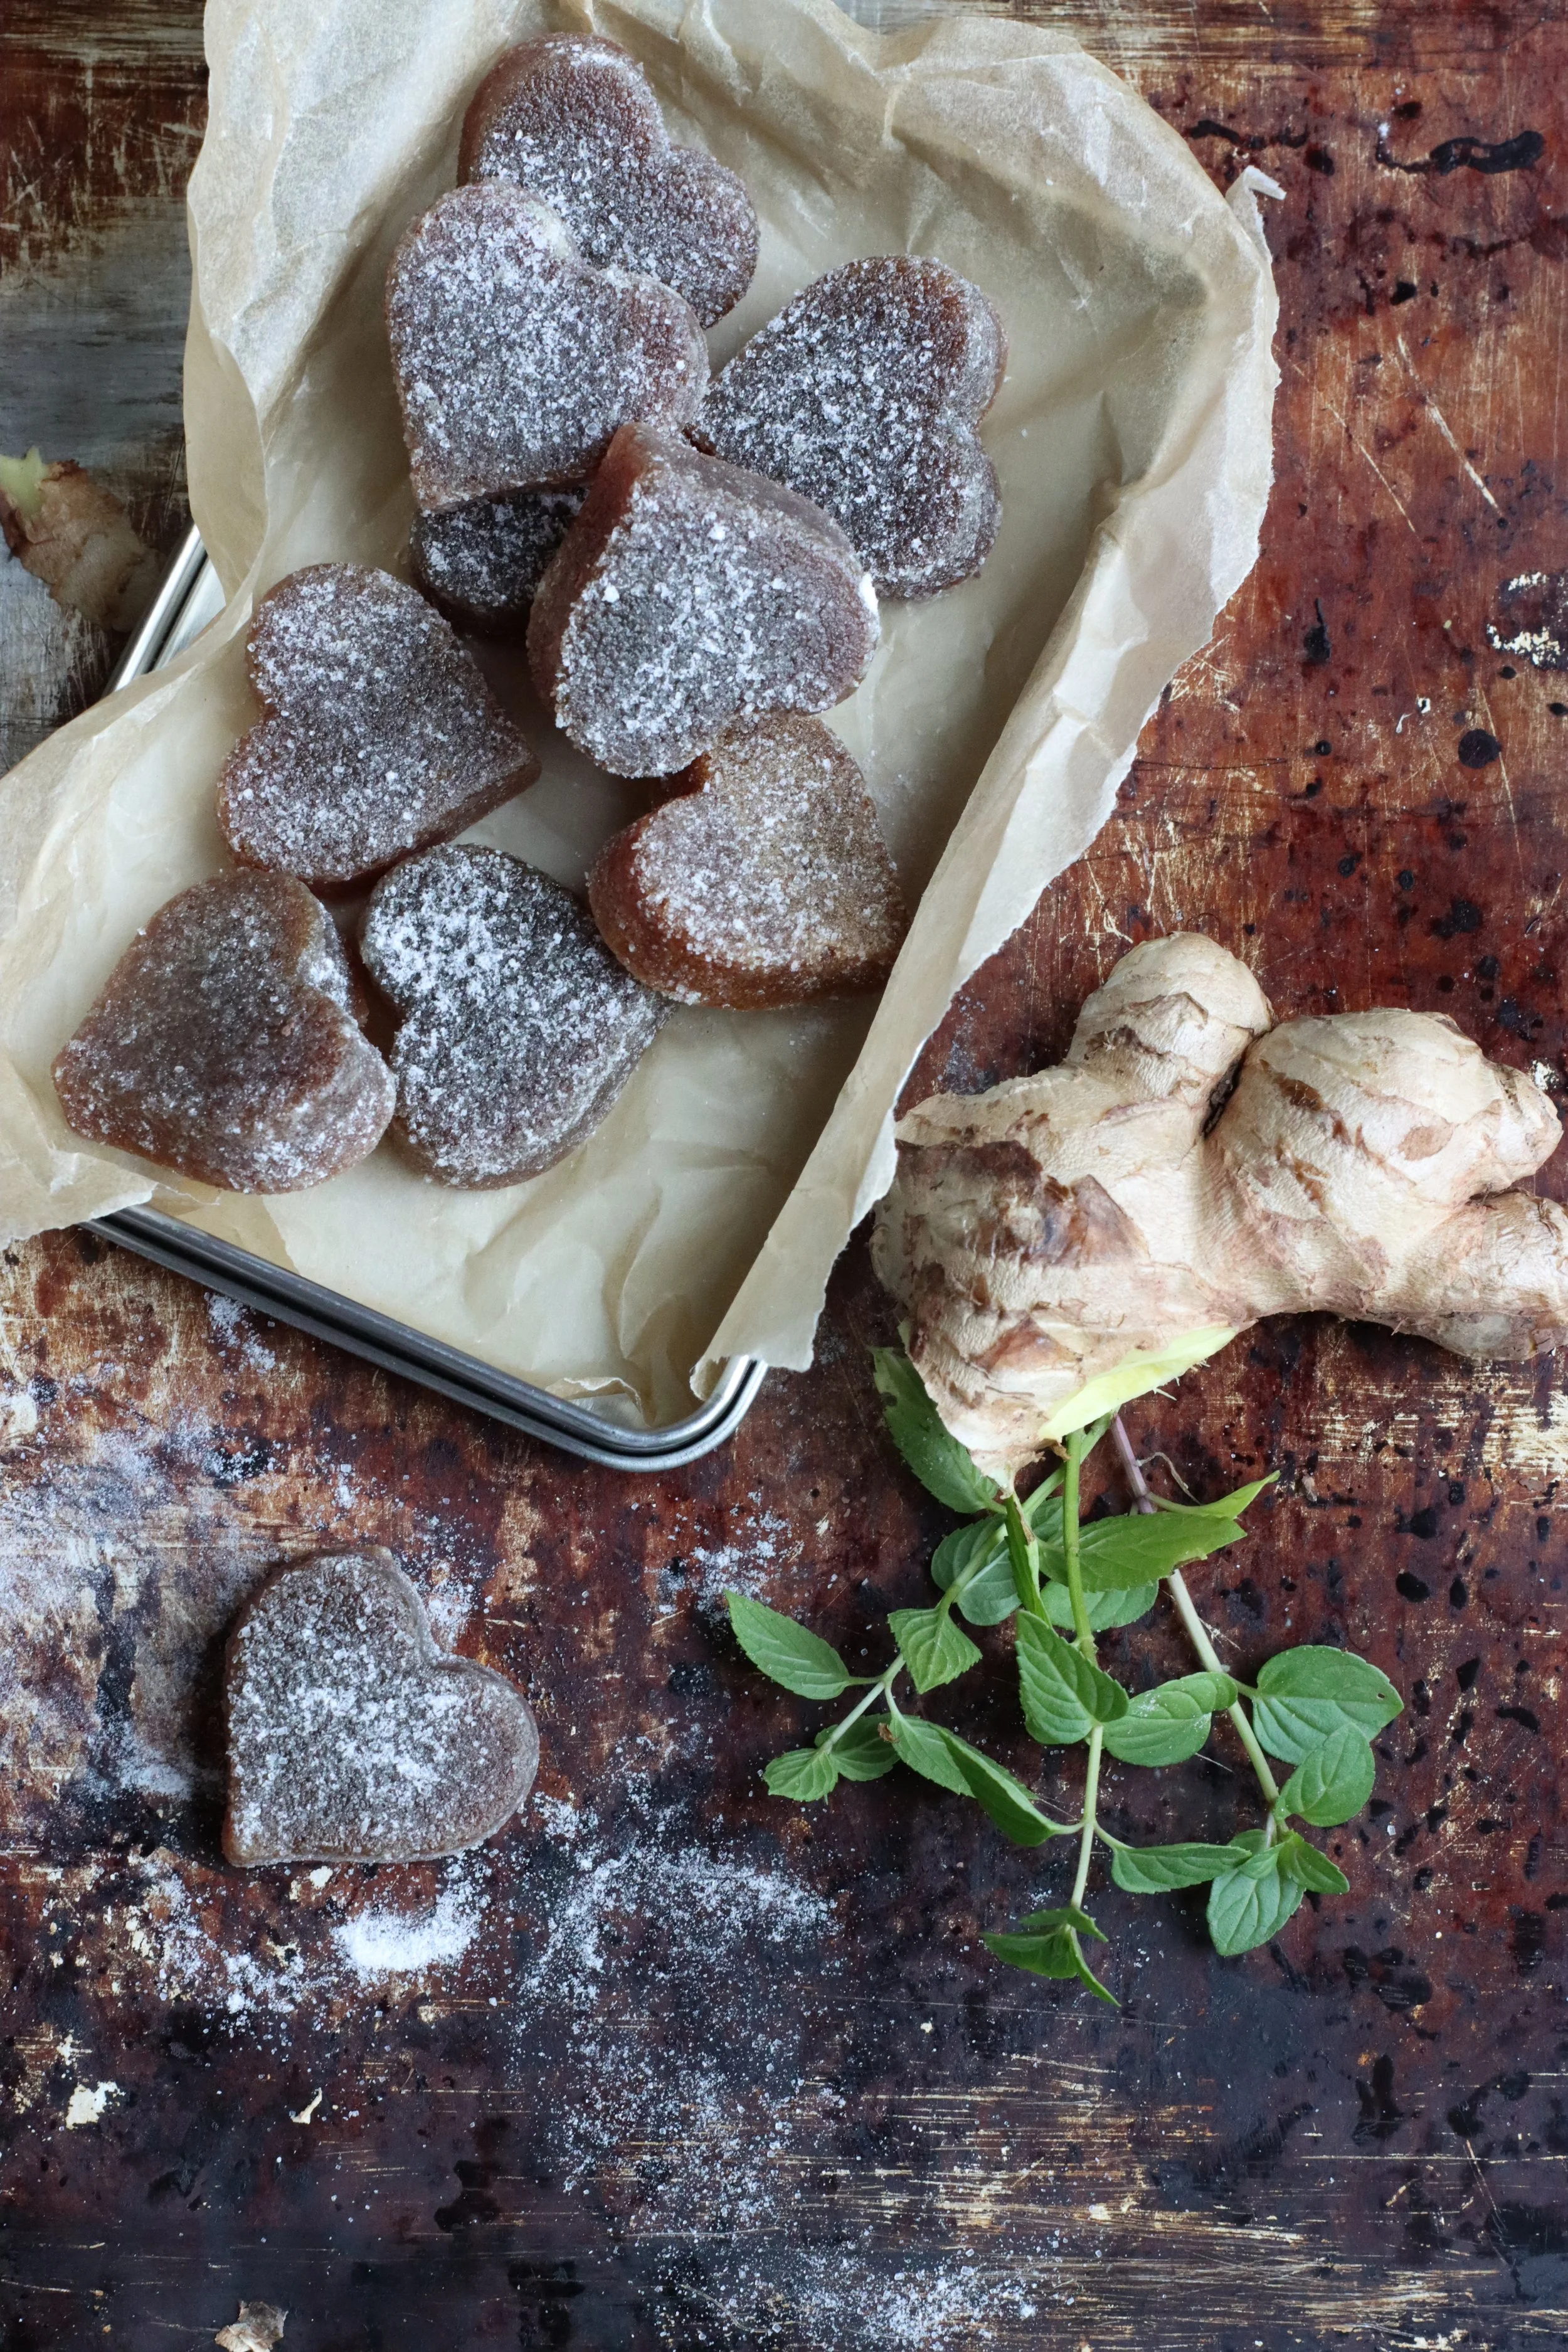
Honey Sweetened Coconut Candy
Gingerbread Dominos
Mini Florentines
Coconut Chocolate Bars

MY LATEST RECIPES


Welcome to CREATING HEALTHY TIMES!
My name is Ulrike. I created this website to share my dietary approach to natural healing and delicious sugar, grain, and lactose-free recipes. I found that, provided with the right nutrition, the body itself is one of the greatest healers.
Find out what I learned on my nine-year journey with the Specific Carbohydrate Diet, and get valuable information about natural healing
ABOUT ME
Try my delicious sugar, grain, and lactose-free recipes
RECIPES